प्रोडक्शन-रेडी इमेज बनाने वाले GPT Image 2 प्रॉम्प्ट कैसे लिखें
GPT Image 2 Team
8 मई 2026
पोस्टर, प्रोडक्ट विजुअल, UI मॉकअप, इन्फोग्राफिक और लगातार क्रिएटिव वर्कफ़्लो के लिए बेहतर GPT Image 2 प्रॉम्प्ट लिखना सीखें।
अच्छा GPT Image 2 प्रॉम्प्ट सिर्फ एक वाक्य नहीं होता। यह छोटा लेकिन साफ़ क्रिएटिव ब्रीफ होता है।
अगर आप केवल “एक cool poster बनाओ” या “product image generate करो” लिखते हैं, तो मॉडल को सब्जेक्ट, लेआउट, बैकग्राउंड, लाइटिंग, टाइपोग्राफी और अंतिम उपयोग का अनुमान लगाना पड़ता है। मार्केटिंग, ecommerce, UI mockup, social media या brand content के लिए ज़्यादा संरचित तरीका चाहिए।
GPT Image 2 विस्तृत visual direction, text-heavy layout और consistent style intent को बेहतर ढंग से संभालता है, इसलिए यह finished design asset के करीब images बना सकता है।
1. सबसे पहले एसेट टाइप तय करें
सबसे आम गलती है output format तय किए बिना subject लिख देना। “blue lighting वाला futuristic VR headset” विषय बताता है, लेकिन format नहीं। बेहतर है: “futuristic VR headset के लिए high-tech product poster बनाएं।” अब मॉडल जानता है कि output एक designed poster होना चाहिए।
Asset type में product poster, ecommerce product image, social media ad, UI mockup, infographic, educational diagram, brand visual, character sheet, cinematic illustration और storyboard frame शामिल हो सकते हैं।
2. सब्जेक्ट को साफ़ परिभाषित करें
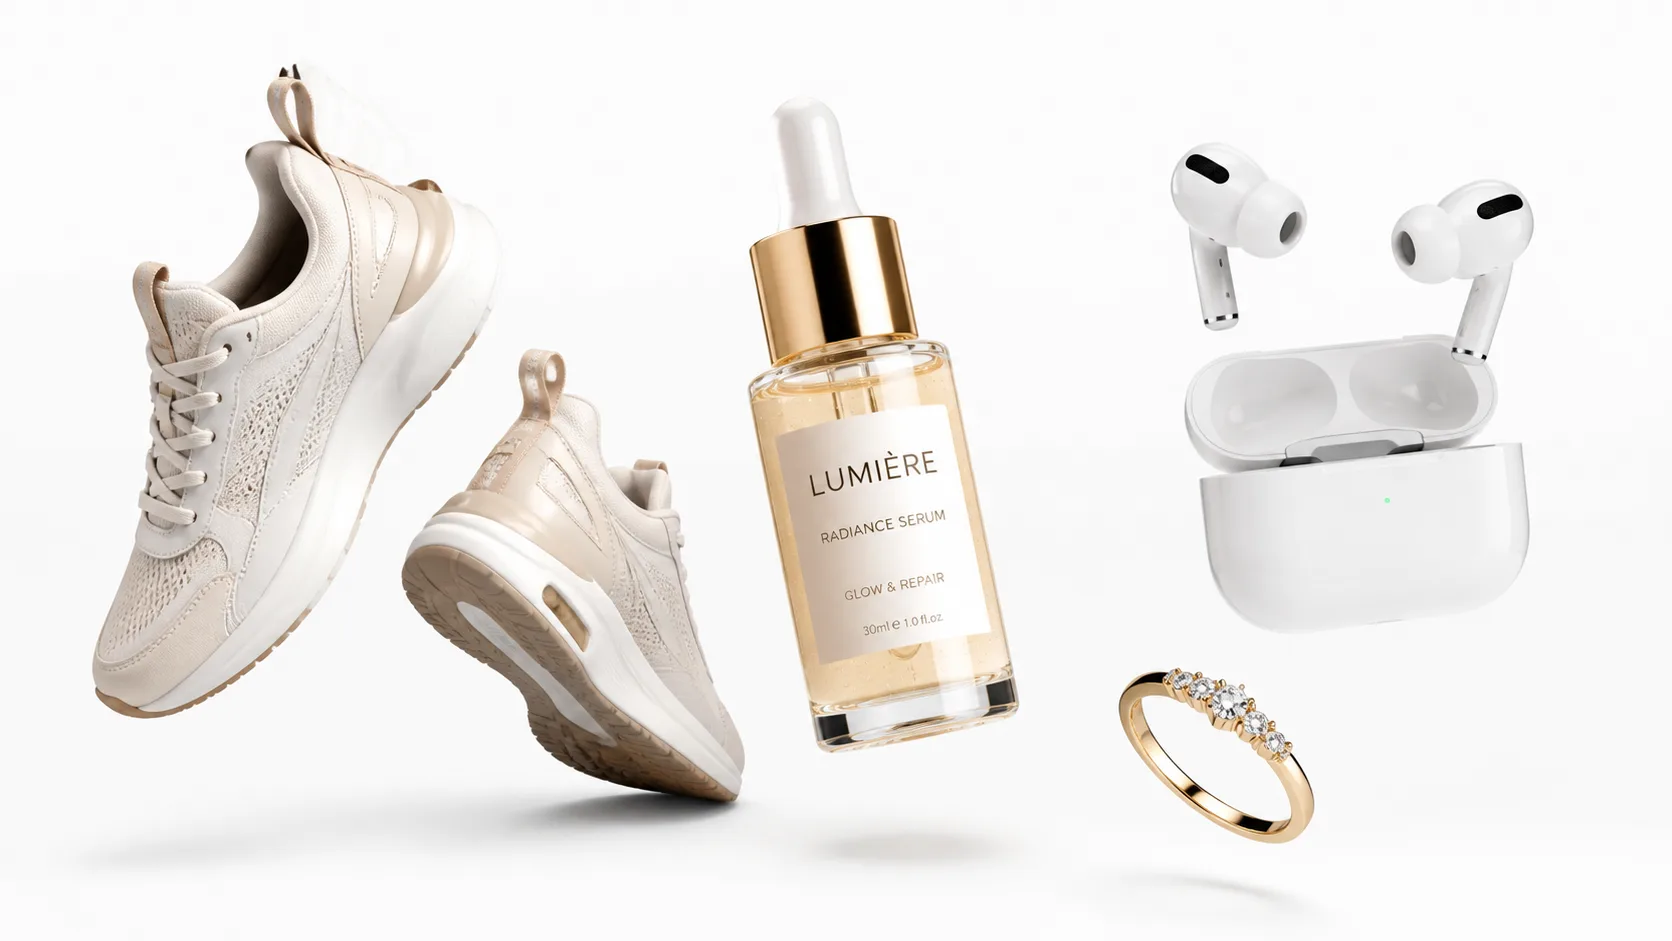
Format के बाद subject को detail दें। “एक pair sneakers” की जगह लिखें: “white running sneakers, lightweight mesh fabric, sculpted foam soles, reflective silver accents और premium studio product photography look।”
इससे product type, material, color, shape, surface detail, lighting style और quality level साफ़ हो जाते हैं।
3. लेआउट नियंत्रित करें
अगर usable design चाहिए, तो layout लिखें। “AI image generation पर infographic बनाएं” बहुत खुला है। बेहतर है: “vertical infographic बनाएं, top पर clear header, center में four stacked sections, हर section के पास simple icon और bottom में short CTA block हो।”
Vertical poster, square social card, three-column comparison, 2x2 grid, headline वाला hero image, centered product with side callouts, dashboard UI और step-by-step flow diagram जैसे निर्देश उपयोगी हैं।
4. टेक्स्ट और विजुअल क्षेत्रों को अलग करें
Text-heavy design में हर text block अलग लिखें: headline, subheadline, labels, captions, button text, footer text, callouts और section titles। फिर यह constraint जोड़ें:
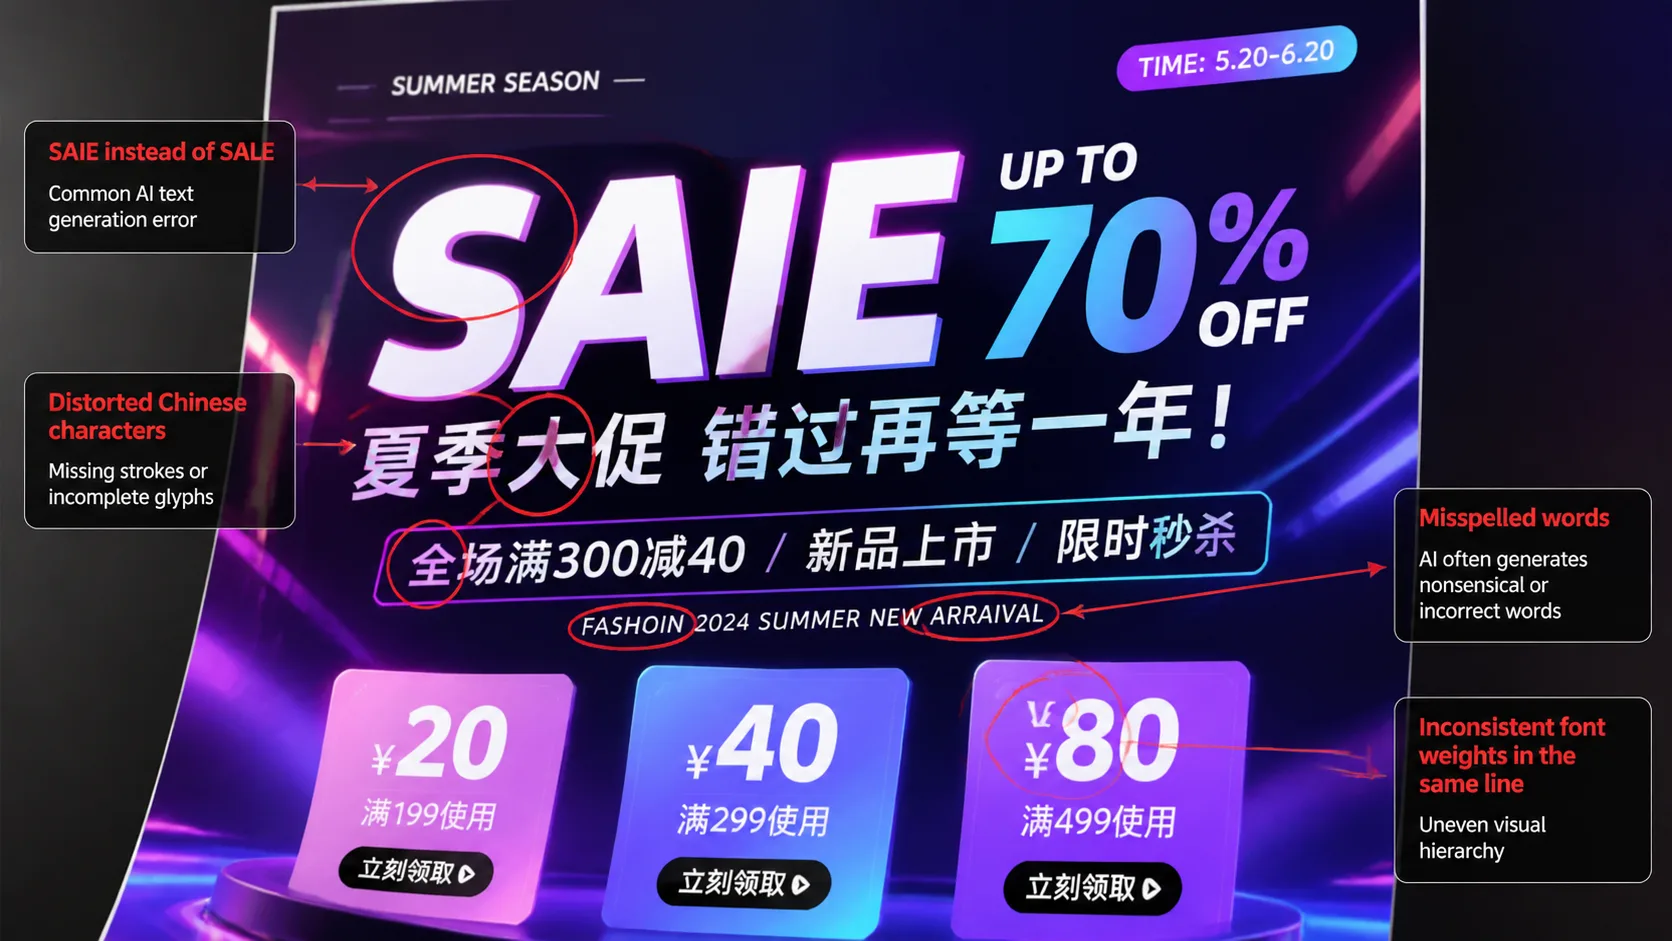
सभी text sharp, readable, correctly spelled और layout के साथ aligned रखें।
5. स्टाइल, लाइटिंग और मूड जोड़ें
Structure साफ़ होने के बाद visual style जोड़ें: clean high-tech 3D render, editorial studio photography, premium ecommerce lighting, soft cinematic portrait, watercolor illustration, anime key visual, minimal SaaS interface, luxury fashion campaign या futuristic dashboard UI।
Soft studio lighting, subtle shadows, clean reflections और premium commercial photography style इस्तेमाल करें।6. आम गलतियों से बचने के लिए constraints लिखें
Extra text न जोड़ें।
Product shape न बदलें।
Logo area clean रखें।
Background simple रखें।
Distorted letters से बचें।
Duplicated objects से बचें।
Composition balanced रखें।
Final image को finished commercial asset जैसा बनाएं।
7. प्रॉम्प्ट टेम्पलेट दोबारा इस्तेमाल करें
[subject] के लिए [asset type] बनाएं।

Visual style:
[style, lighting, mood]

Layout:
[composition, sections, text placement]

Text:
Headline: [headline]
Subheadline: [subheadline]
CTA: [call to action]

Details:
[product details, character details, background details]

Constraints:
[readable text, clean layout, no extra text, consistent style]
यह template product posters, ads, social images, blog hero images, app UI mockups, landing page visuals और infographics के लिए काम करता है।
8. Example prompt: product poster
Modern wireless headphone के लिए premium ecommerce product poster बनाएं।

Visual style:
Clean studio product photography, soft shadows, glossy highlights, dark navy background, premium technology brand feeling.

Layout:
Headphone center में रखें। उसके आसपास three small feature callouts thin connector lines के साथ जोड़ें। Headline top पर और CTA block bottom पर रखें।

Text:
Headline: “Immersive Sound. All Day Comfort.”
Callout 1: “40-hour battery”
Callout 2: “Adaptive noise cancellation”
Callout 3: “Ultra-light fit”
CTA: “Shop the new release”

Constraints:
सभी text sharp और readable रखें। Extra words न जोड़ें। Product shape realistic रखें।
9. Example prompt: infographic
AI image generation workflow समझाने वाली vertical infographic बनाएं, top में title area, center में four numbered steps और bottom में short summary block हो। Text clear, correctly spelled और readable रखें।10. GPT Image 2 को विजुअल वर्कफ़्लो बनाएं
GPT Image 2 को random image generator की तरह नहीं, workflow tool की तरह इस्तेमाल करें। Asset type चुनें, subject define करें, layout और exact text blocks लिखें, style और lighting जोड़ें, constraints दें, first result देखें और prompt refine करके final version को reusable template के रूप में save करें।
निष्कर्ष
बेहतर GPT Image 2 prompt सिर्फ लंबा नहीं होता; वह साफ़ होता है। Model को real creative brief दें, और simple generation production-ready visual creation में बदल जाता है।